Planning a successful video project requires careful organization and attention to detail. Whether you’re creating a marketing video, a tutorial, or a short film, having a clear vision and structure is crucial. One of the most effective tools for organizing your video projects is storyboarding—a visual representation of your video that outlines the scenes, shots, and key elements. Combined with thoughtful planning, storyboarding ensures your project stays on track and aligns with your creative vision.
This guide will walk you through the storyboarding and planning process, providing actionable steps for organizing your next video project, from conceptualization to production.
1. Why Storyboarding is Essential for Video Projects
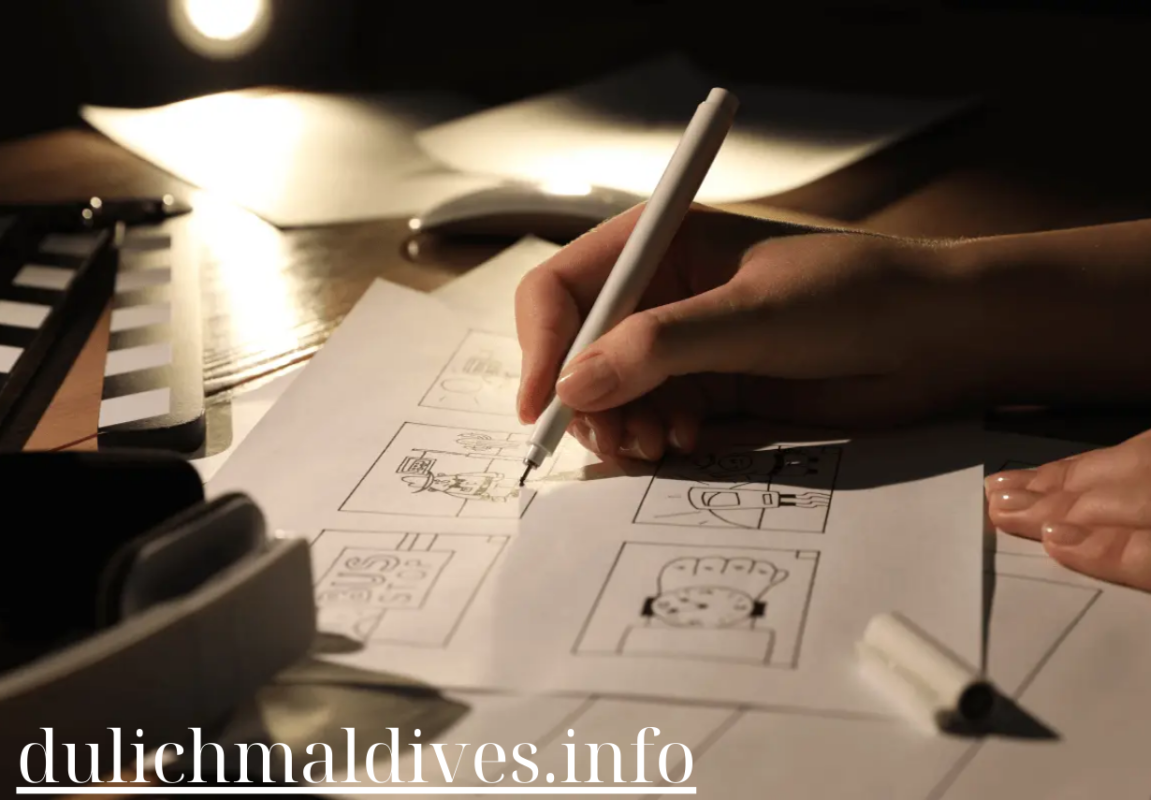
Storyboarding is the process of visually mapping out your video, scene by scene. It allows you to break down your video into smaller, manageable parts and visualize how the story will unfold on screen. Storyboards typically consist of a series of images, often accompanied by notes, that represent each shot or scene in your video.
Benefits of Storyboarding:
- Clarifies your vision: A storyboard helps you see the flow of the video before production, ensuring that the final product aligns with your goals.
- Saves time and money: By planning out scenes in advance, you can avoid costly reshoots and make production more efficient.
- Improves communication: A storyboard serves as a visual guide that helps your team understand your vision, making it easier to communicate with videographers, editors, and clients.
- Prevents creative block: Having a visual roadmap can keep you focused and help you overcome creative hurdles during the video production process.
Example: A marketing team storyboards a product demo video, mapping out each scene where the product is shown, key angles, and visual details such as product close-ups and customer testimonials.
2. Steps to Storyboarding Your Video
Creating a storyboard doesn’t require advanced drawing skills—simple sketches or even digital tools can help you visualize your video. Follow these steps to create an effective storyboard for your project.
1. Define the Purpose and Goals of Your Video
Before starting your storyboard, clarify the purpose and goals of your video. What are you trying to achieve? Who is your target audience? Whether your video aims to educate, entertain, or promote a product, your storyboard should reflect these objectives.
- Best practices: Write down the core message of your video and its key takeaways. Keep your audience in mind as you plan the tone and style.
2. Write a Script
A well-written script is the foundation of a good video. Your script should outline the dialogue, narration, or key points you want to convey in each scene. It serves as the blueprint for your storyboard.
- Best practices: Break your script down by scenes or sections. This will make it easier to translate your ideas into visuals during the storyboarding process.
3. Break Down the Script into Key Scenes
After writing your script, break it down into smaller scenes or shots. Each scene should represent a key moment in the video that conveys important information or moves the story forward. Think about the visual details of each scene, such as camera angles, character movements, or on-screen text.
- Best practices: For each scene, ask yourself: What action is happening? What is the setting? What are the key visuals? What dialogue or narration will accompany the scene?
4. Sketch or Create Frames for Each Scene
Once you’ve broken down your script, it’s time to sketch or create frames for each scene. You don’t need to be an artist—simple stick figures or basic shapes are enough to represent the action. Alternatively, you can use digital tools or templates to create a more polished storyboard.
- Best practices: Include basic notes with each frame that describe what’s happening, including camera movements, sound effects, or key dialogue. The goal is to provide enough information to visualize the scene.
5. Consider Camera Angles and Movements
One of the key elements of storyboarding is deciding on camera angles and movements. Will you use wide shots, close-ups, or overhead angles? Will the camera pan or zoom during the scene? Thinking about these details in advance ensures that your video has the desired visual style.
- Best practices: Experiment with different angles in your storyboard to find the best way to frame each scene. Use arrows to indicate camera movements such as pans or zooms.
6. Add Transitions Between Scenes
Transitions are how you move from one scene to the next. Storyboarding these transitions in advance ensures a smooth flow between scenes. Common transitions include cuts, fades, or dissolves.
- Best practices: Use the notes section of your storyboard to indicate transitions between scenes. For example, you might specify a “fade to black” at the end of a dramatic scene or a quick cut to build tension.
Example: A short film might storyboard a scene where two characters have a conversation. The storyboard frames will indicate close-ups of each character during the dialogue, with a transition note to cut to an establishing wide shot at the start of the next scene.
3. Essential Elements of a Storyboard
An effective storyboard should include a few essential elements that help organize your project and guide production. Each frame should provide enough information to visualize the scene and communicate key details to your team.
1. Visuals
The visuals are the heart of your storyboard. Each frame should depict a key moment in the video, showing the characters, setting, and actions that take place.
- Best practices: Use simple sketches, images, or screenshots to represent what will be seen on screen. The goal is to give a clear sense of the visual composition.
2. Dialogue and Sound
Include the dialogue, voiceover, or sound effects that will accompany each scene. This helps connect the visuals to the script and ensures that the audio aligns with the action.
- Best practices: Write dialogue and sound effects underneath or next to each frame. If there is no dialogue in the scene, mention any key sound effects or music that will play.
3. Camera Directions
Indicate any specific camera angles, movements, or framing that will be used. This is especially important if your video requires dynamic shots, such as zoom-ins, pans, or tilts.
- Best practices: Use arrows or labels to show camera movements or framing changes. For example, you might label a shot as “close-up” or “wide shot” to give the director and cinematographer clear instructions.
4. Notes Section
The notes section provides space for additional information that doesn’t fit into the visuals or dialogue. This might include instructions for lighting, wardrobe, props, or special effects.
- Best practices: Keep your notes clear and concise. If there are important details about the setting, characters, or technical aspects of the scene, include them here.
Example: In a tutorial video about cooking, each storyboard frame might show a different step in the recipe. The notes section could include details about the equipment or ingredients that need to appear in the scene, along with instructions for camera angles on key steps.
4. Planning the Production: From Storyboard to Shoot
Once your storyboard is complete, you’re ready to start planning the production. Having a storyboard makes it much easier to organize your shoot, allocate resources, and ensure everyone involved understands the vision.
1. Create a Shot List
A shot list is a detailed breakdown of all the shots you’ll need to capture during production. It’s based on your storyboard and ensures that you don’t miss any important scenes during filming.
- Best practices: List each shot, including the scene number, shot type (e.g., close-up, wide shot), and any specific camera movements. Organize your shot list in the order that makes the most sense for filming, which may not be the chronological order of the storyboard.
2. Prepare a Production Schedule
The production schedule outlines the timeline for filming, including shoot dates, locations, and any necessary resources (e.g., props, actors, equipment). A well-organized schedule keeps the project on track and ensures efficient use of time on set.
- Best practices: Include buffers for setup and breaks, and ensure that your schedule accommodates potential delays, such as weather or equipment issues.
3. Assemble the Team
If you’re working with a team, make sure everyone knows their roles and responsibilities. Share the storyboard and shot list with key team members, such as the director, cinematographer, and actors, so everyone is on the same page.
- Best practices: Hold a pre-production meeting to walk through the storyboard and discuss any potential challenges or adjustments before the shoot begins.
4. Gather Equipment and Resources
Make sure all the necessary equipment—cameras, lighting, sound gear—is ready for the shoot. This is also the time to finalize any other resources you’ll need, such as props, costumes, or locations.
- Best practices: Create an equipment checklist to ensure nothing is forgotten on shoot day. Double-check that all gear is in working condition and that backups are available if needed.
Example: For a product review video, the production team might create a shot list that includes close-ups of the product, scenes where the product is used, and wide shots of the setting. They’ll plan the shoot schedule based on available daylight and prepare equipment accordingly.
5. Reviewing and Refining Your Storyboard
Once your storyboard is complete, it’s important to review it with key stakeholders—whether that’s your creative team, clients, or collaborators. A review process ensures that any adjustments or improvements can be made before production begins.
1. Get Feedback from the Team
Share your storyboard with your team and ask for their input. This could include suggestions on camera angles, scene transitions, or creative ideas that could enhance the final video.
- Best practices: Be open to feedback, but also ensure that changes align with the original goals of the video. Make revisions as necessary to improve clarity and flow.
2. Revisit Your Objectives
Ensure that your storyboard aligns with the original objectives of the video. Are all key messages and visuals included? Does the flow of the storyboard reflect the intended tone and style?
- Best practices: Make sure each scene moves the story forward and contributes to the overall purpose of the video. Cut unnecessary shots that don’t serve the main goal.
Conclusion: Organizing Your Video Projects with Storyboarding
Storyboarding is an invaluable tool for organizing video projects and ensuring a smooth production process. By breaking down your video into scenes, considering camera angles and transitions, and creating a clear visual roadmap, you can avoid common pitfalls and keep your project on track. Combined with proper planning, including shot lists and production schedules, storyboarding helps you turn creative ideas into polished, professional video content.


