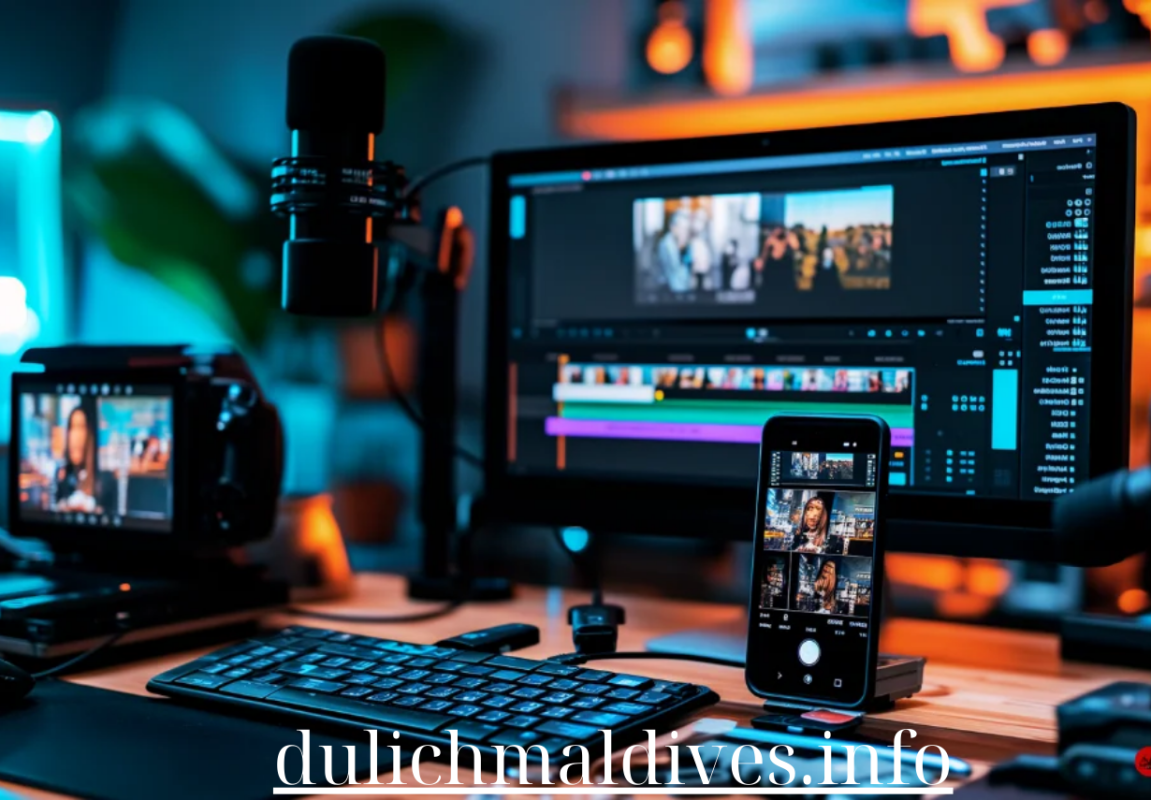
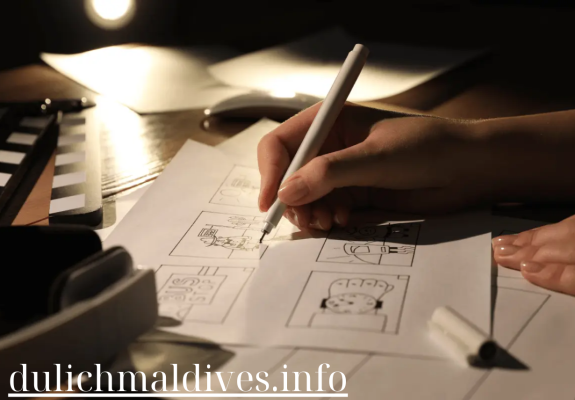
Whether you’re creating a promotional video, a short film, or social media content, video editing plays a critical role in transforming raw footage into a polished, engaging final product. With the right techniques, you can enhance the visual appeal of your footage, improve storytelling, and captivate your audience. In this guide, we’ll explore essential video editing techniques that will help you elevate your video projects and achieve professional results.
1. Cutting on Action: Create Seamless Transitions
One of the most basic yet impactful video editing techniques is cutting on action. This technique involves making a cut when a subject is in motion, which helps create a seamless transition between shots. By cutting during the action (such as a character opening a door or turning their head), you maintain visual continuity and flow.
Why It Works:
- Smooth Transitions: Cutting on action avoids jarring cuts and keeps the viewer focused on the movement, making the transition feel natural.
- Improves Pacing: Action cuts can enhance the pacing of your video by maintaining the rhythm of the scene, especially in fast-paced content like action sequences or sports videos.
Pro tip: Pay attention to the motion in both shots. Aligning the action between cuts ensures the audience stays immersed in the scene without noticing the edit.
2. Match Cuts: Maintain Continuity and Visual Flow
A match cut is a technique where two visually similar shots are cut together to create a smooth transition. This method can be used to connect scenes that are different in time or place but have a similar visual element, such as matching shapes, colors, or motion.
Why It Works:
- Enhances Storytelling: Match cuts can bridge the gap between scenes while creating symbolic or thematic connections.
- Creates Visual Appeal: Using match cuts can create a visually satisfying moment for the viewer, especially when the cut is subtle and well-executed.
Pro tip: Use match cuts to transition between different parts of a story, such as from one location to another, while keeping the viewer’s attention focused on the action.
3. Jump Cuts: Add Energy and Pacing
A jump cut is an abrupt transition between two shots that are very similar but show the passage of time or a change in position. This editing technique is often used to convey speed or urgency and can give your footage a dynamic, fast-paced feel.
Why It Works:
- Adds Energy: Jump cuts work well in fast-paced content, such as vlogs, action sequences, or music videos, where you want to speed up the action.
- Simplifies Long Takes: If you have a long, continuous shot, jump cuts allow you to condense time without losing key information.
Pro tip: Jump cuts work best when they’re deliberate. Use them sparingly to avoid making your video feel disjointed.
4. L-Cuts and J-Cuts: Enhance Audio-Visual Flow
L-cuts and J-cuts are two common techniques used to create audio-visual overlap between scenes. In an L-cut, the audio from the first scene continues to play as the video transitions to the next scene. In a J-cut, the audio from the upcoming scene begins before the visual transition.
Why It Works:
- Improves Narrative Flow: L-cuts and J-cuts allow for smoother transitions between scenes by creating a natural overlap between the audio and visual elements.
- Keeps Audience Engaged: These techniques help maintain the audience’s interest by blending sound and visuals in a way that feels organic, especially in dialogue-heavy scenes.
Pro tip: Use L-cuts and J-cuts to seamlessly transition between scenes without breaking the flow of conversation or narrative.
5. Cross Dissolves: Smoothly Transition Between Scenes
A cross dissolve is a gradual transition between two shots where the first shot fades out as the second shot fades in. This technique can be used to signal a change in time, location, or mood, and is often seen in montages or dream sequences.
Why It Works:
- Creates a Fluid Transition: Cross dissolves provide a smooth way to shift between scenes, avoiding the abruptness of a hard cut.
- Adds Emotional Impact: By using dissolves, you can evoke a sense of nostalgia, time passing, or a dreamlike quality, depending on the context.
Pro tip: Don’t overuse dissolves; they can lose their impact if used too frequently. Reserve them for moments where you want to convey a specific mood or passage of time.
6. Color Grading: Set the Tone and Mood
Color grading is the process of adjusting the colors in your video to create a specific tone or mood. By changing the brightness, contrast, saturation, and color balance, you can significantly alter the emotional impact of a scene.
Why It Works:
- Enhances Atmosphere: Whether you want a warm, vibrant feel or a cool, desaturated look, color grading helps set the mood and supports your storytelling.
- Creates Consistency: Applying consistent color grading across all scenes ensures that your video has a cohesive look and feel.
Pro tip: Start with color correction to balance exposure, contrast, and white balance before moving on to color grading for creative adjustments.
7. Montages: Compress Time and Tell a Story
A montage is a sequence of shots edited together to condense time and convey a story or concept in a brief, impactful way. Montages are often accompanied by music and can be used to show progress, training, or the passage of time.
Why It Works:
- Condenses Time: Montages allow you to compress a lot of information into a short amount of time, keeping the audience engaged while advancing the narrative.
- Creates Emotional Impact: When combined with music, montages can evoke strong emotions and create memorable moments in your video.
Pro tip: Use montages sparingly and make sure the shots chosen are visually diverse to keep the sequence dynamic and engaging.
8. Slow Motion and Fast Motion: Control the Pace
Using slow motion or fast motion is a great way to manipulate the pacing of your video and add emphasis to specific moments. Slow motion highlights details, while fast motion can increase energy and intensity.
Why It Works:
- Slow Motion: Slowing down the action allows the audience to appreciate finer details, making it perfect for emotional or dramatic scenes.
- Fast Motion: Speeding up footage can create excitement and give your video a high-energy feel, especially in action sequences or comedic moments.
Pro tip: When using slow motion, ensure your footage was shot at a high frame rate (e.g., 60fps or higher) to maintain smoothness and clarity.
9. Cutaways: Add Depth to the Story
A cutaway is a shot that interrupts the main action to provide additional context or show relevant details. This technique is often used to give the audience a better understanding of the scene, such as cutting away to a character’s reaction or showing an important object.
Why It Works:
- Enhances Storytelling: Cutaways provide additional information that supports the main action, helping the audience understand the scene more fully.
- Breaks Up Long Shots: By cutting away to related footage, you can keep the audience engaged and avoid overly long or monotonous shots.
Pro tip: Use cutaways to emphasize important details, reveal character emotions, or break up dialogue scenes for a more dynamic presentation.
10. Sound Design: Enhance the Audio Experience
While video is a visual medium, sound design plays an equally important role in creating an immersive experience. By adding sound effects, background music, or ambient noise, you can enhance the emotional impact of your footage and make it more engaging.
Why It Works:
- Builds Atmosphere: Carefully chosen sound effects and background music can set the tone for your video, whether it’s suspenseful, joyful, or melancholic.
- Adds Realism: Ambient sounds or foley effects (e.g., footsteps, doors closing) help make the video feel more lifelike and believable.
Pro tip: Use sound effects and music that complement the visuals rather than overpower them. Balance the audio levels to ensure dialogue remains clear and audible.
Conclusion
By applying these video editing techniques, you can significantly enhance the quality of your footage and create a more engaging and professional final product. From cutting on action and using match cuts, to perfecting color grading and optimizing sound design, each technique brings its own value to the storytelling process. With the right combination of strategies, you’ll be able to captivate your audience and deliver videos that leave a lasting impression.


